Quickstart
This guide will get you all set up and have EasyBlog in your project. We'll cover how to get started using our Next.js SDK and how to create your first project. We'll also look at where to go next to find all the information you need to take full advantage of EasyBlog.
Create a New Project
To setup your first EasyBlog project, login to EasyBlog dashboard, click Create a Project button on the top right of the project page. Enter project name, and click Create.
Congratulations! You just created your first project. Now we'll add blogs to this project and render the project in your application.
Generte an API Key
To authenticate your application, you'll need to provide both API key and project id. To create an API key, navigate to Settings page, click Generate New Key, copy the key value once generated. This key will only be displayed once so make sure you mark the key down immediately after it's generated.
You can find project_id in the Project tab. Each project will have a unique project_id.
Add Project Id and API Key
If you already have an .env file, that's perfect. If you don't, create a .env file at the root at your project directory. Add below lines into your .env file, replace the <PROJECT_API_KEY> with the API key you just created, and the <PROJECT_ID> you find on the project page.
EASYBLOG_API_KEY=<PROJECT_API_KEY>
EASYBLOG_PROJECT_ID=<PROJECT_ID>
EASYBLOG_API_URL=https://api.easyblog.io
Install NPM Package
At the root of your project directory, install easyblog-next library.
npm
npm install @weekend-studio/easyblog-next
npm install @weekend-studio/easyblog-components
Create The Blog List Page
If you haven't, create a directory in your project for blog pages. If you are not familar with Next.js App Router or Page Router, you can refer to Next.js documentation.
/your-project
├── app/
│   ├── blogs/
│   │   ├── page.tsx        # Blog listing page
│   │   └── [slug]/
│   │       └── page.tsx    # Blog detail page
│   ├── layout.tsx
│   └── page.tsx
To create a blog list page, go to the blogs/page.tsx (App Router) or blogs/index.tsx (Page Router) and add below code.
Create a blog list page in Grid Layout
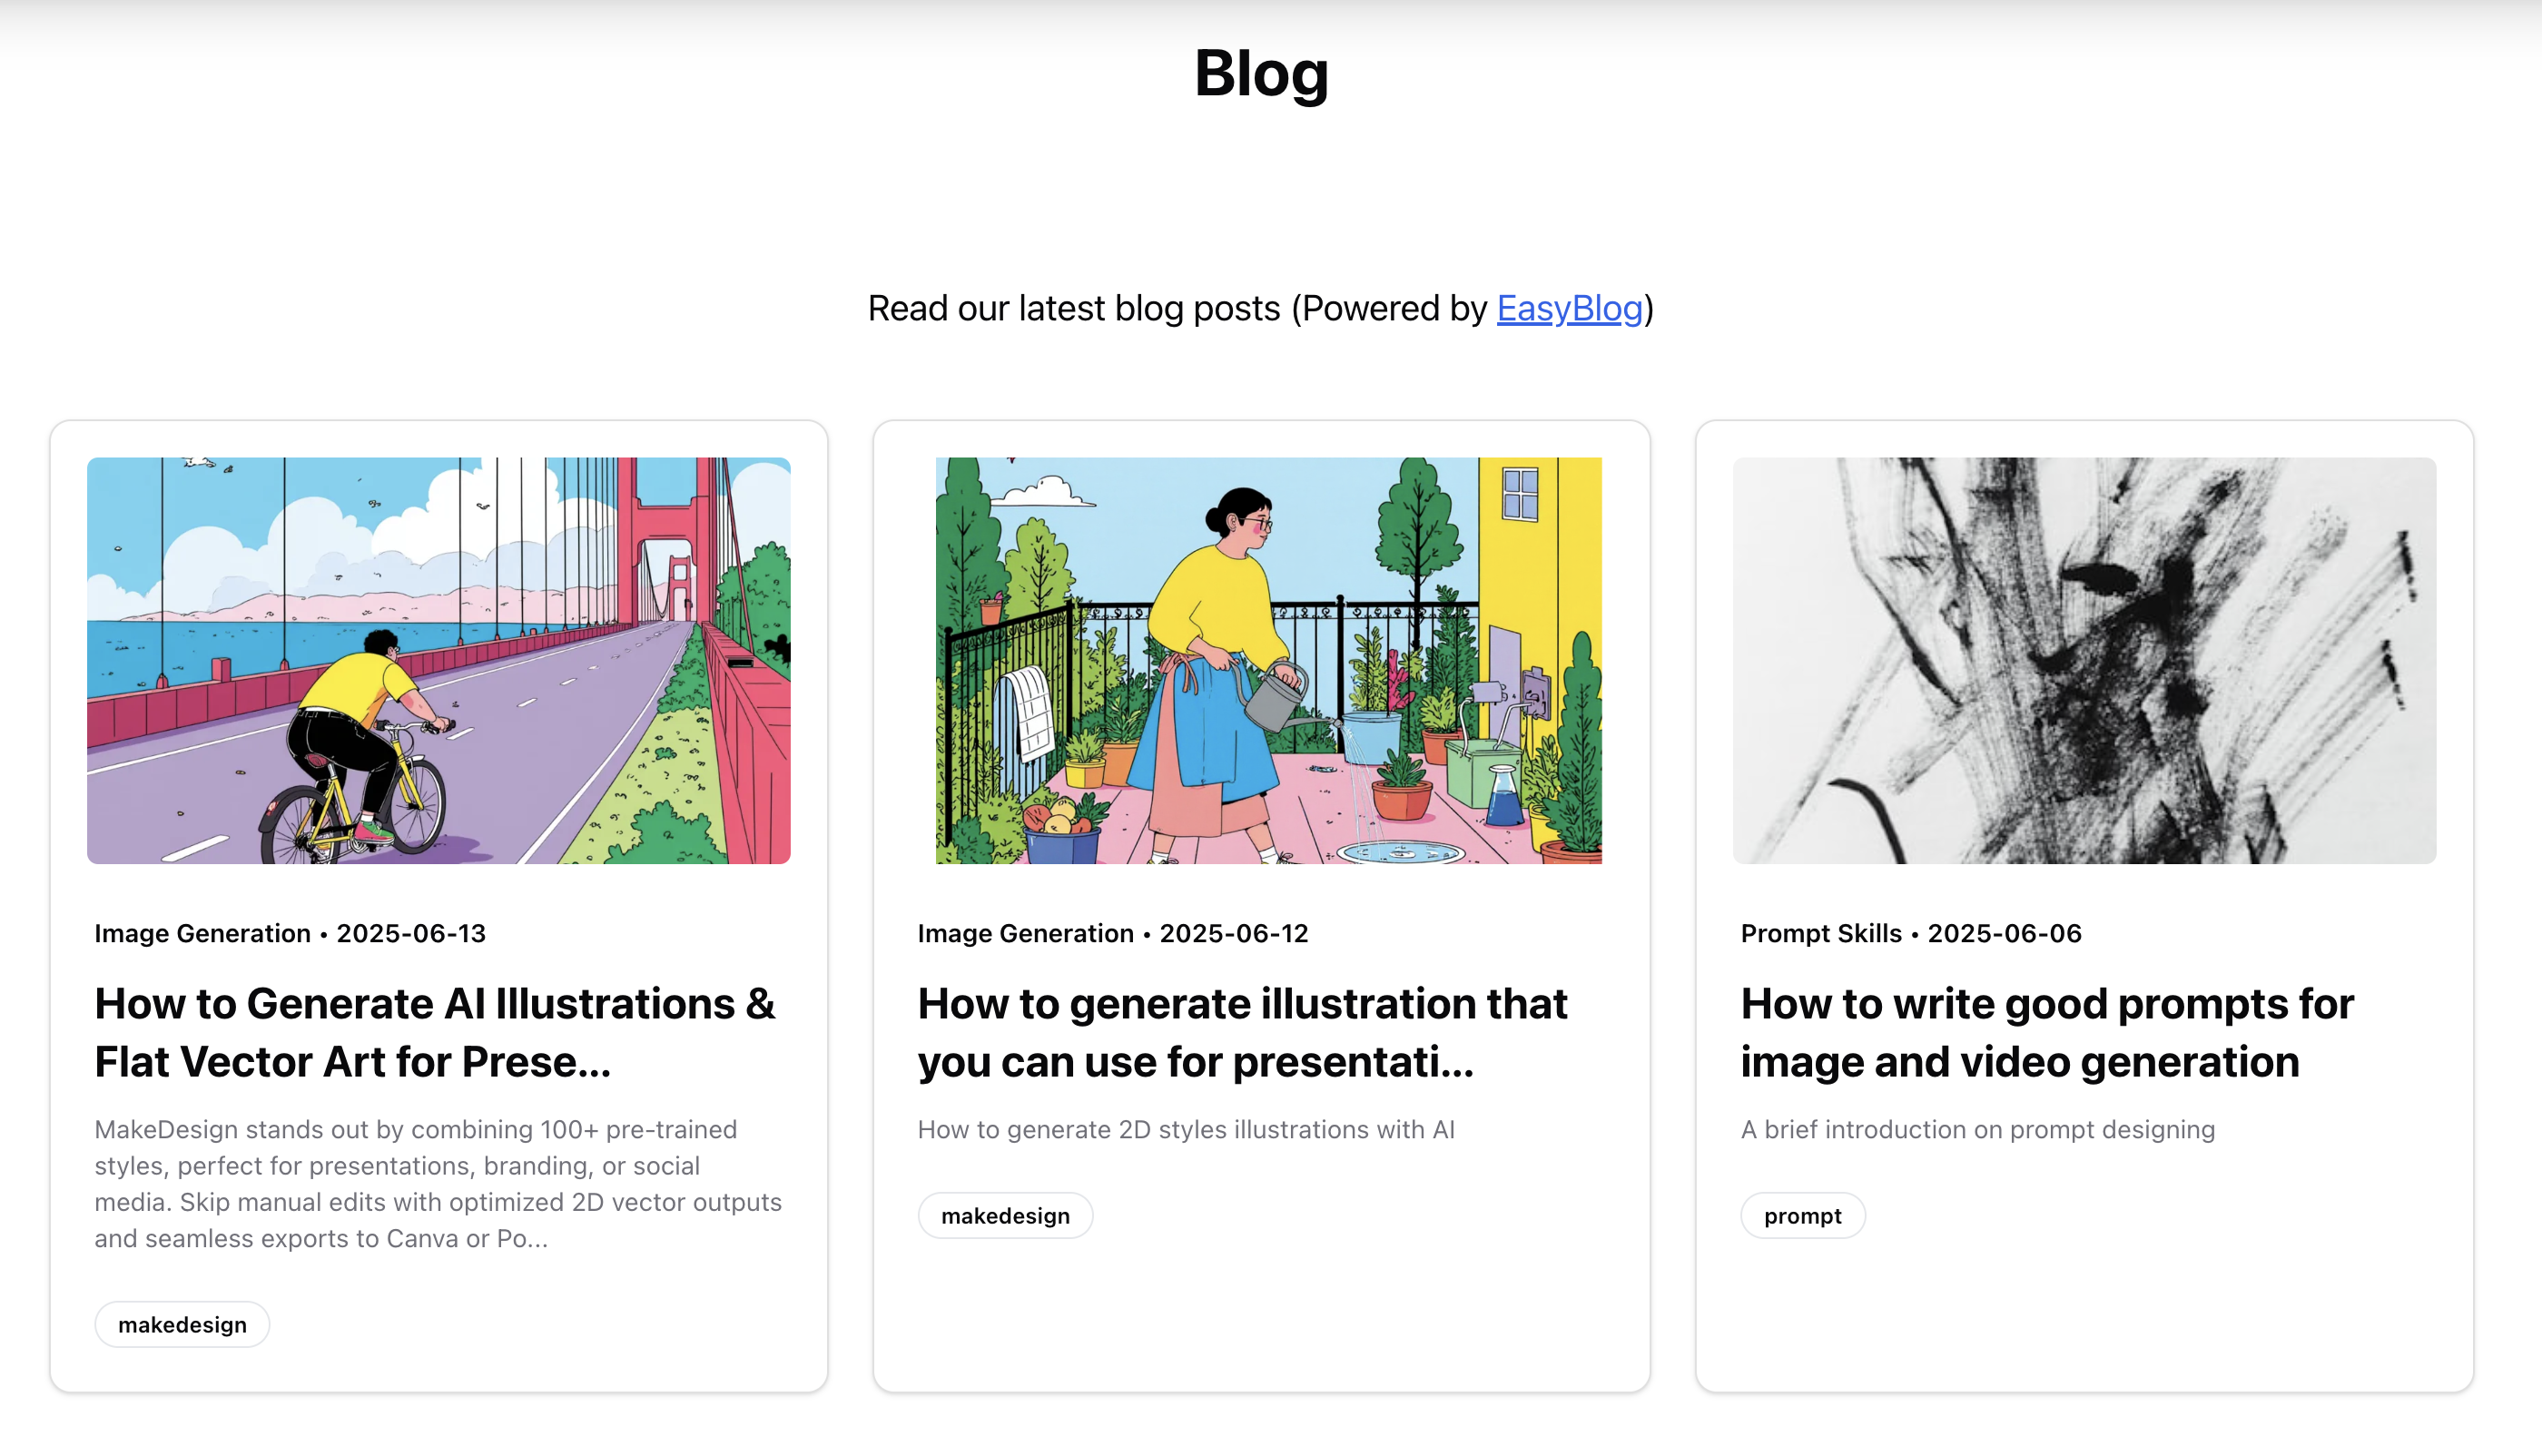
Simply copy below code and paste it into your blog list page to create a blog list page in grid layout.
// your-project/app/blogs/page.tsx

import { NextBlogListPage } from '@weekend-studio/easyblog-next/app';
import { XIcon } from 'lucide-react';
import { Suspense } from 'react';
import { LoadingV2 } from '@weekend-studio/easyblog-components';
import Link from 'next/link';

const config = {
  apiKey: process.env.EASYBLOG_API_KEY!,
  projectId: process.env.EASYBLOG_PROJECT_ID!,
  apiUrl: process.env.EASYBLOG_API_URL!
};

export async function generateMetadata() {
    return {
      title: 'Your Website Blog Home',
      description: 'Your Website Blog Home Description',
      openGraph: {
        title: 'Your Website Blog Home',
        description: 'Your Website Blog Home Description',
        type: 'website',
        url: '/blogs',
      },
  }
}

const displayOptions = { // Customize based on your need
    showThumbnail: true,
    showReadingTime: false,
    showExcerpt: true,
    showTags: true,
    showDate: true,
    type: "grid" as "list" | "grid",
    showAuthor: false,
    showCategory: true,
    blogPerPage: 9,
    darkMode: false,
}

export default async function BlogPage({
  searchParams
}: {
  searchParams: Promise<{ [key: string]: string | string[] | undefined }>
}) {
  const resolvedParams = await searchParams;
  /**
   * You can customize the page styles here by wrapping <NextBlogListPage> in extra layers, this example uses tailwindcss to style the page
   */
  return (
    <div className="container mx-auto flex flex-col items-center justify-center py-10">
      <h1 className="text-4xl font-bold my-12">Blog</h1>
      {!resolvedParams.tags && !resolvedParams.category && <p className="text-xl my-12">Read our latest blog posts (Powered by <span className="text-primary"><Link href="https://easyblog.io" target="_blank" className="inline-block text-blue-600 underline hover:opacity-70">EasyBlog</Link></span>)</p>}
      {resolvedParams.tags && (
        <div className="flex items-center gap-2 mb-8">
          <span className="text-xl my-12">Selected tag:</span>
          <span className="px-3 py-1 bg-primary/10 text-primary rounded-full text-sm flex items-center gap-2">
            {Array.isArray(resolvedParams.tags)
              ? resolvedParams.tags[0]
              : resolvedParams.tags}
            <a href={`/blogs`}>
              <XIcon className="w-4 h-4 cursor-pointer hover:opacity-70" />
            </a>
          </span>
        </div>
      )}
      {resolvedParams.category && (
        <div className="flex items-center gap-2 mb-8">
          <span className="text-xl my-12">Selected category:</span>
          <span className="px-3 py-1 bg-primary/10 text-primary rounded-full text-sm flex items-center gap-2">
            {resolvedParams.category}
            <a href={`/blogs`}>
              <XIcon className="w-4 h-4 cursor-pointer hover:opacity-70" />
            </a>
          </span>
        </div>
      )}
      <Suspense fallback={<LoadingV2 type="article-grid" />}>
          <NextBlogListPage
            config={config}
            searchParams={resolvedParams}
            displayOptions={displayOptions}
          />
      </Suspense>
    </div>
  );
}

export const revalidate = 3600; // revalidate every 1 hour
Barebone version if you want to customize the page styles by yourself.
// your-project/app/blogs/page.tsx

import { NextBlogListPage } from '@weekend-studio/easyblog-next/app';

const config = {
  apiKey: process.env.EASYBLOG_API_KEY!,
  projectId: process.env.EASYBLOG_PROJECT_ID!,
  apiUrl: process.env.EASYBLOG_API_URL!
};

const easyblogOptions = { // Customize based on your need
  showThumbnail: true,
  showReadingTime: true,
  showExcerpt: true,
  showTags: true,
  showDate: true,
  showAuthor: true,
  showCategory: true,
  type: "grid" as "list" | "grid",
  darkMode: false,
}

export default async function BlogPage({
  searchParams
}: {
  searchParams: Promise<{ [key: string]: string | string[] | undefined }>
}) {
  const resolvedParams = await searchParams;

  return (
      <NextBlogListPage
        config={config}
        searchParams={resolvedParams}
        displayOptions={easyblogOptions}
      />
  );
}
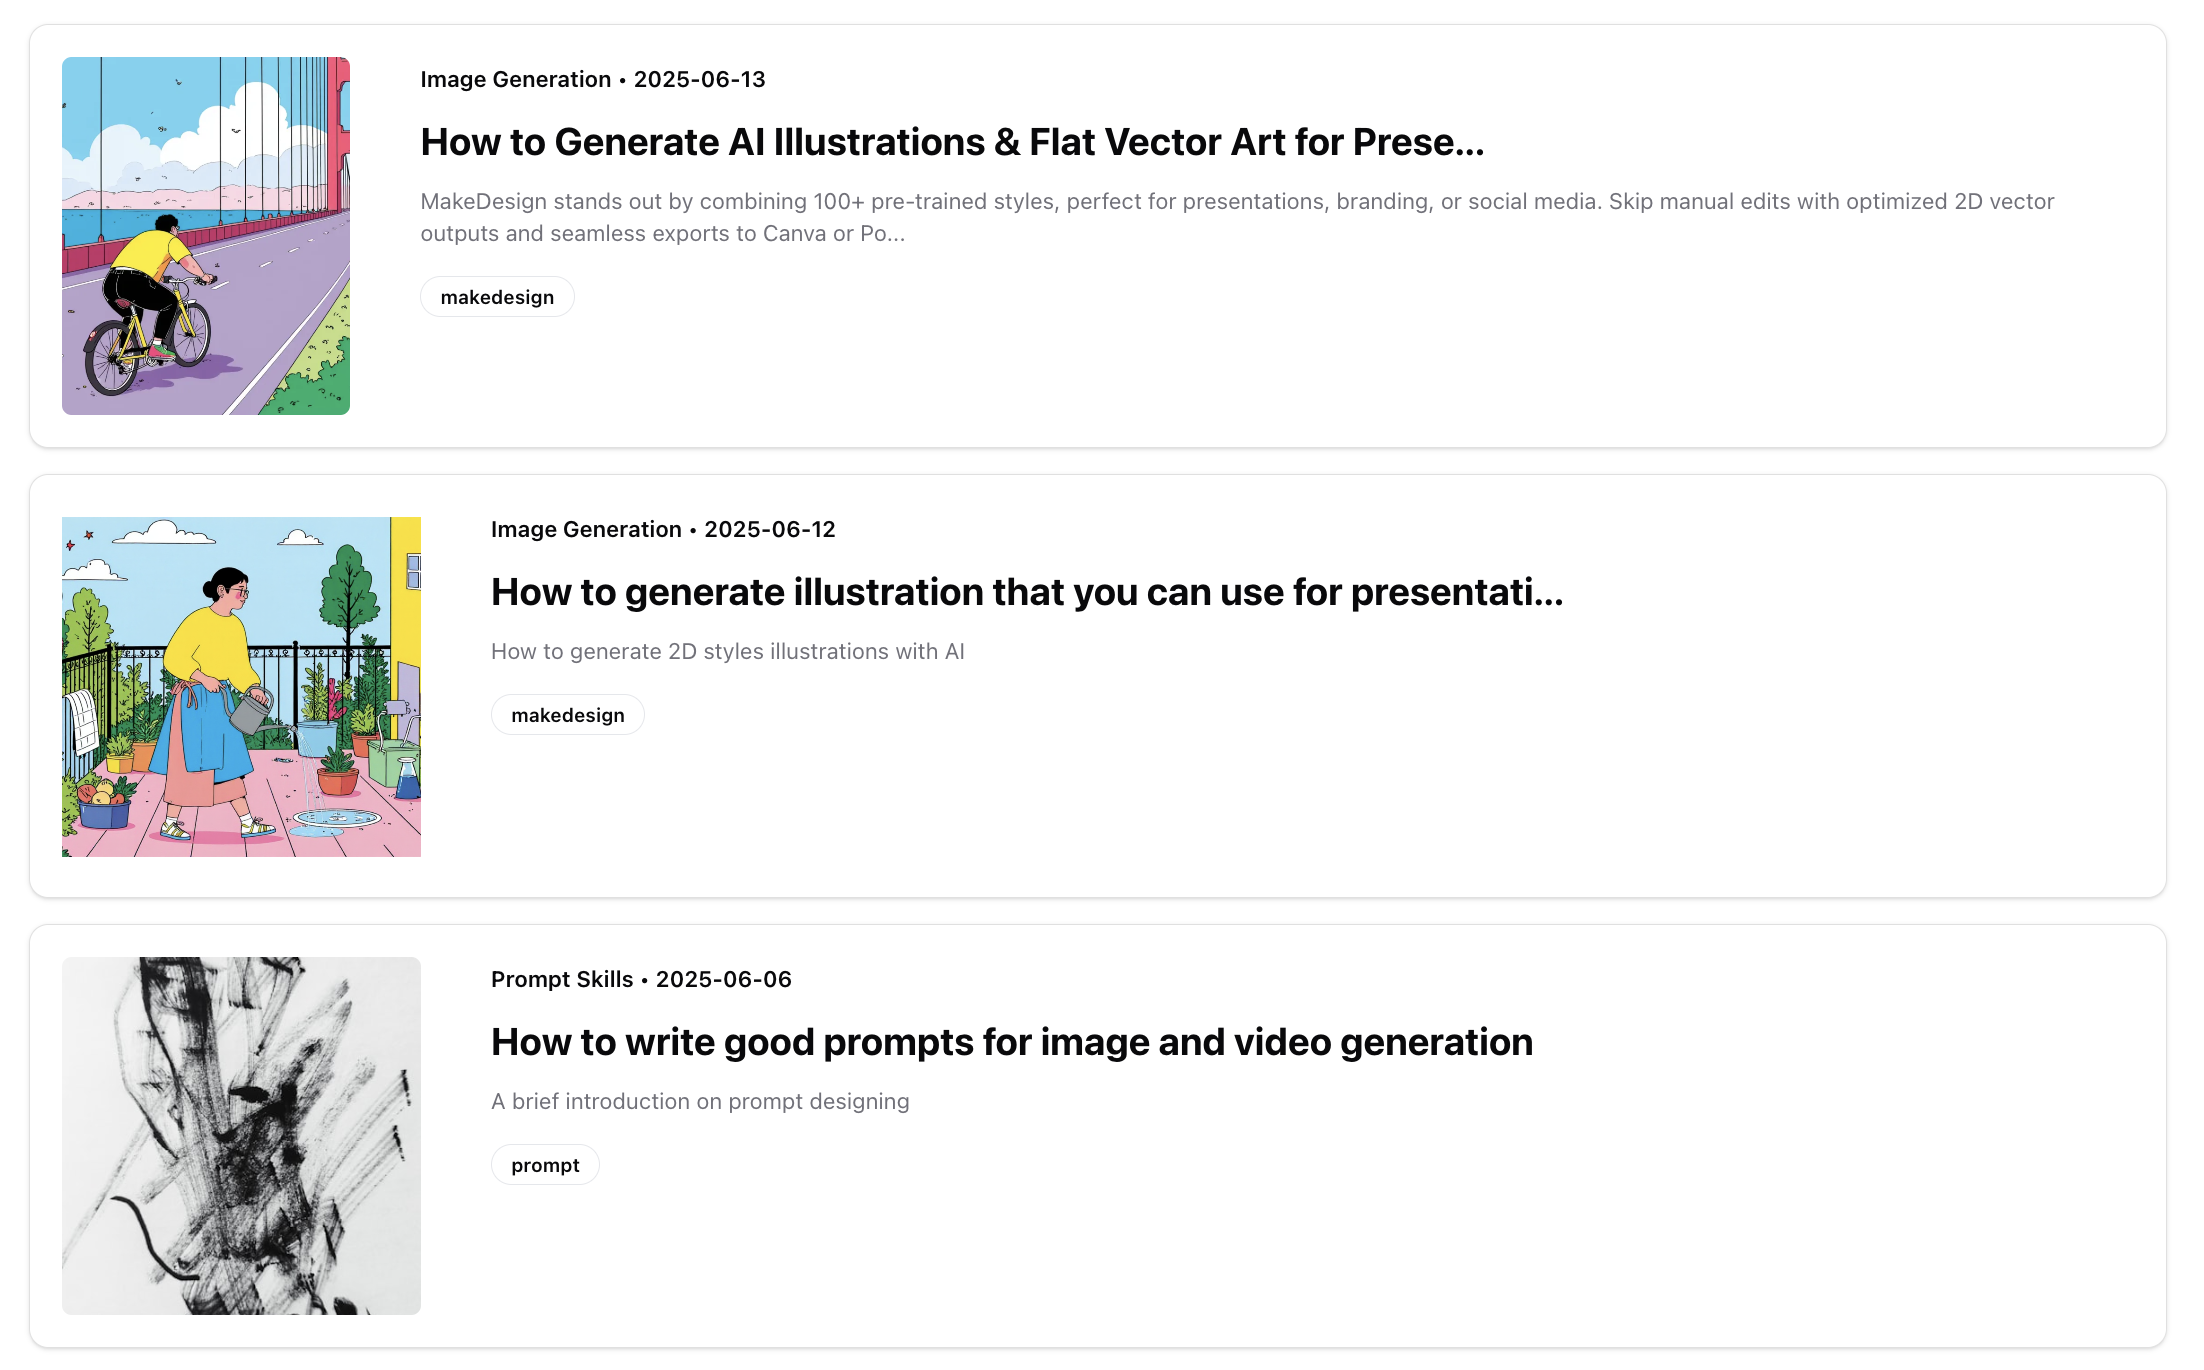
If you want List Layout instead of Grid Layout, simply change the type to list in the displayOptions object.
Create The Blog Article Page
// your-project/app/blogs/[slug]/page.tsx

import '@weekend-studio/easyblog-components/styles.css'; // MAKE SURE TO IMPORT THIS CSS FILE TO STYLE THE PAGE
import { LoadingV2 } from '@weekend-studio/easyblog-components';
import {
  getBlogPaths,
  NextBlogPage,
  getBlogPost
} from '@weekend-studio/easyblog-next/app';
import { getSEOTags, GetSEOTagsParams } from '@weekend-studio/easyblog-next/seo';
import { ArrowLeftIcon } from 'lucide-react';
import Link from 'next/link';
import { Suspense } from 'react';

const config = {
  apiKey: process.env.EASYBLOG_API_KEY!,
  projectId: process.env.EASYBLOG_PROJECT_ID!,
  apiUrl: process.env.EASYBLOG_API_URL!
};

// Add basic SEO properties
const baseSEO = {
  applicationName: "EasyBlog",
  description: "EasyBlog is a lightweight blog CMS that allows you to create and manage your blog posts.",
  domainName: "easyblog.io",
  x_handle: "@realchuyao",
}

export const generateStaticParams = async () => {
  const paths = await getBlogPaths(config);
  return paths;
};

export const generateMetadata = async ({ params }: { params: Promise<{ slug: string }> }) => {
  const slug = (await params).slug;
  const post = await getBlogPost(config, slug);

  return getSEOTags({
    ...baseSEO,
    title: post.title,
    description: post.excerpt,
    canonicalUrlRelative: `/blogs/${slug}`,
    keywords: ["blog", "article", post.title],
    openGraph: {
      title: post.title,
      description: post.excerpt,
    },
  } as GetSEOTagsParams);
};

export default async function BlogPostPage({ params }: { params: Promise<{ slug: string }> }) {
  const slug = (await params).slug;
  return (
    <div className="container mx-auto flex flex-col justify-center gap-4">
      <Link href="/blogs" className="text-primary mx-auto hover:opacity-70 flex items-center gap-2">
          <ArrowLeftIcon className="w-4 h-4"/>
          <span className="">Back to blogs</span>
      </Link>
      <Suspense fallback={<LoadingV2 type="article" />}>
        <NextBlogPage
          config={config}
          slug={slug}
          darkMode={false} // Customize based on your need
          showAuthor={false}
          showToc={true}
        />
      </Suspense>
    </div>
  );
}

export const revalidate = 3600; // revalidate every 1 hour
Save your changes, then run
npm
npm run dev
Navigate to localhost:3000/blogs then you'll see an empty blog page if you don't have any blogs written.
Write Your First Blog
On Easyblog dashboard, navigate to Blogs page, click Add a New Blog and add your first blog. After you're done with editing content, click Submit, this will open the publish dialog where you can enter all the metadata for the blog, such as blog tags, categories, and excerpt. Click Publish, and that's it! EasyBlog will automatically help you generate the SEO metadata during build time so you don't need to make extra configurations.
Check Your Blog
Now, navigate to localhost:3000/blogs, there you should be able to see your blog live!
What's next?
Congratulations! You've just published your first blog! When you build and deploy your next.js application, EasyBlog pages will be generated as static assets and can be easily scraped and downloaded by search engine. It's perfect for SEO and organic growth.